Green Paradise Dwarf Variety Green Coconut Plant
Guaranteed Safe Checkout
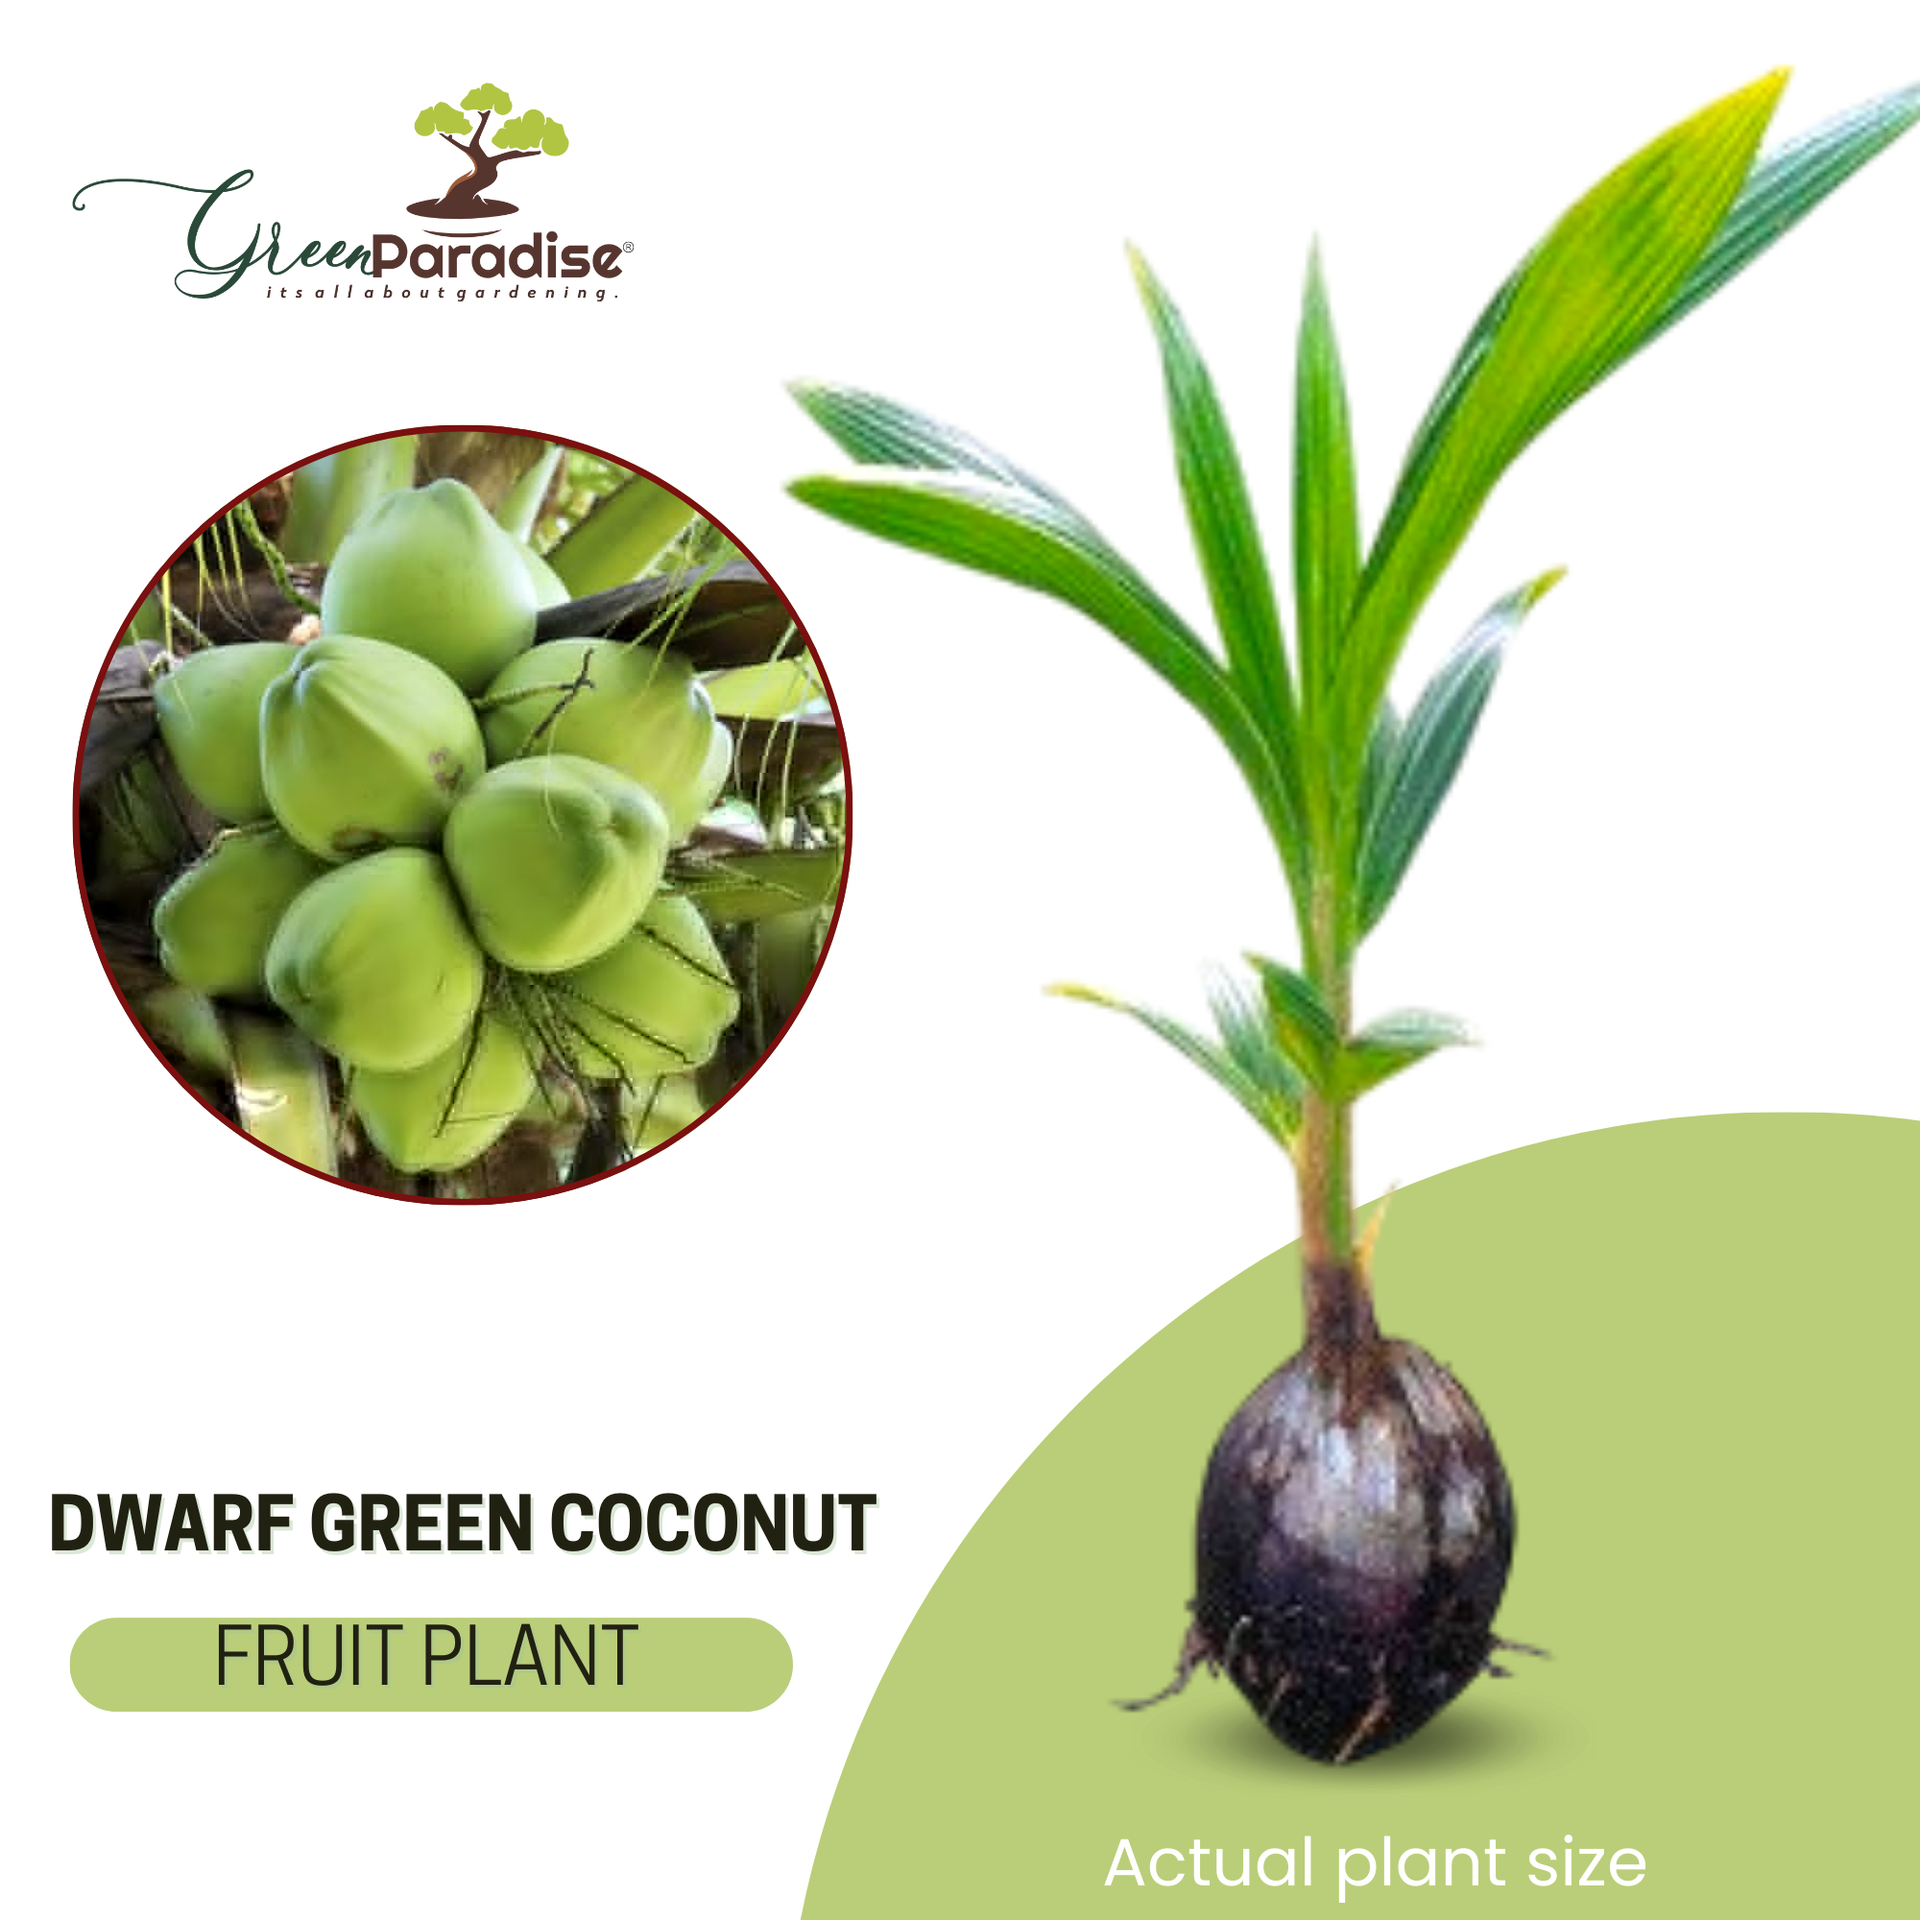
Green Paradise Offers Dwarf Variety Green Coconut Plant
About Green Coconut Plant
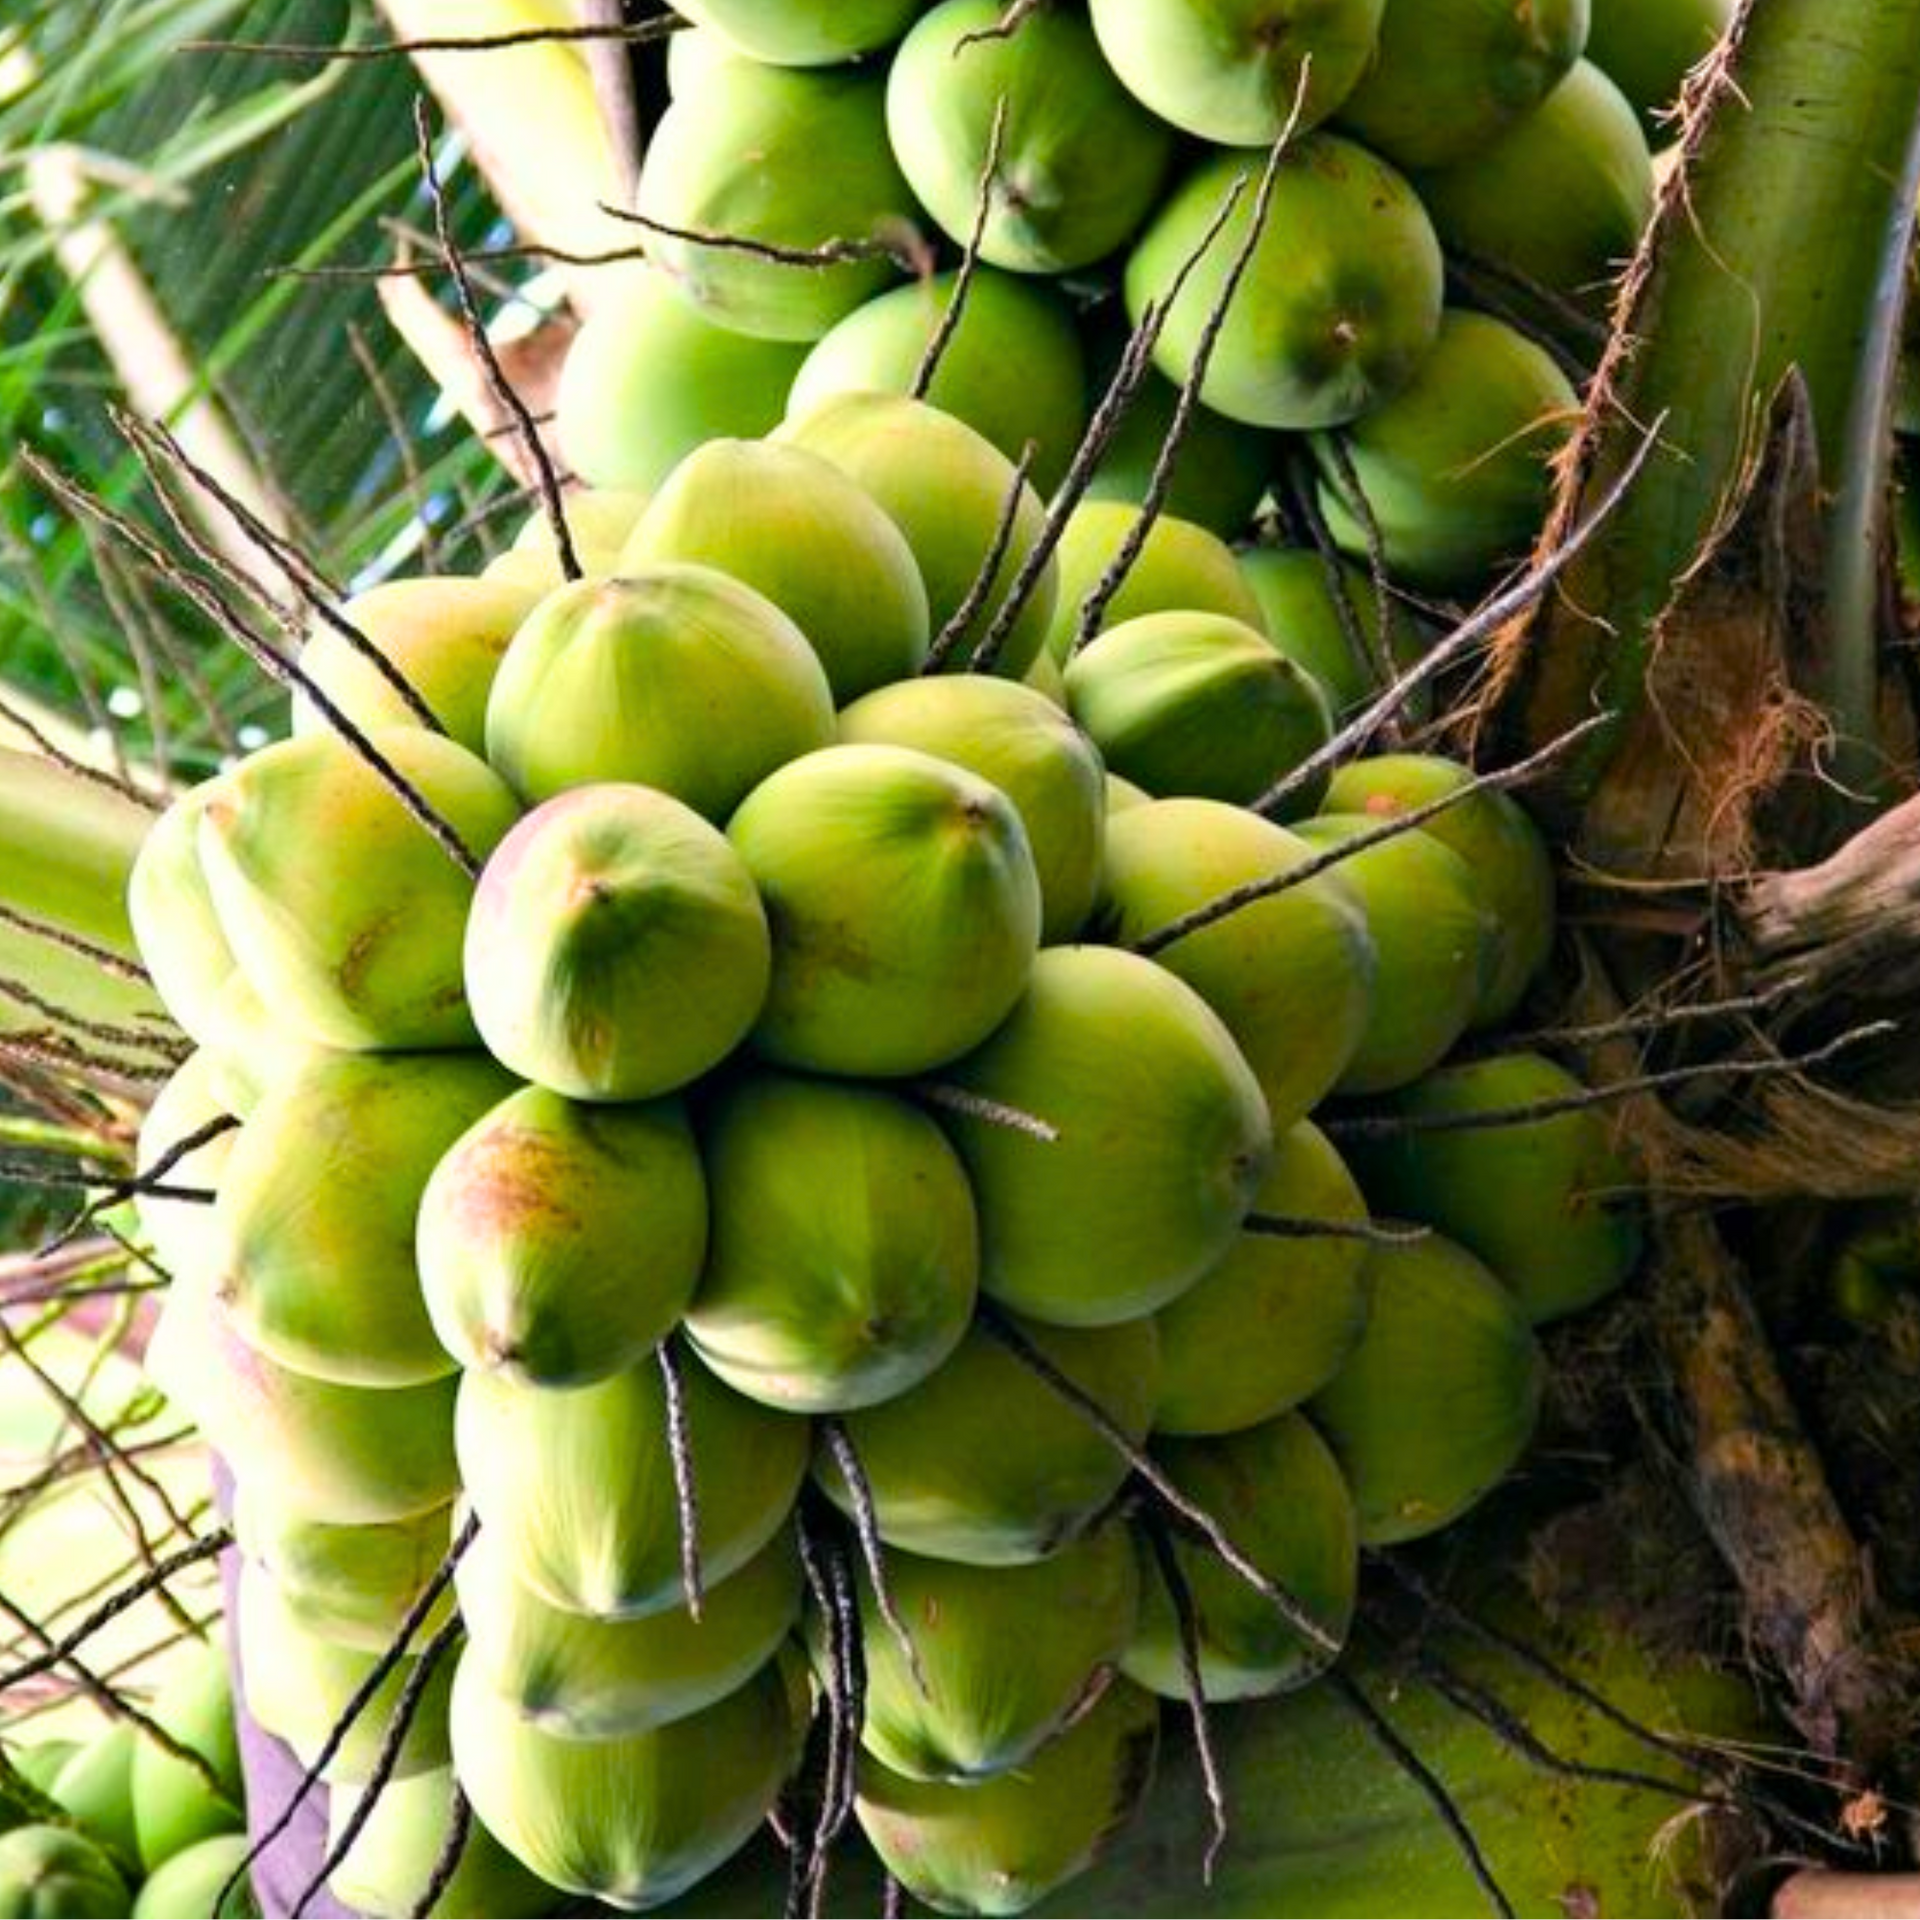
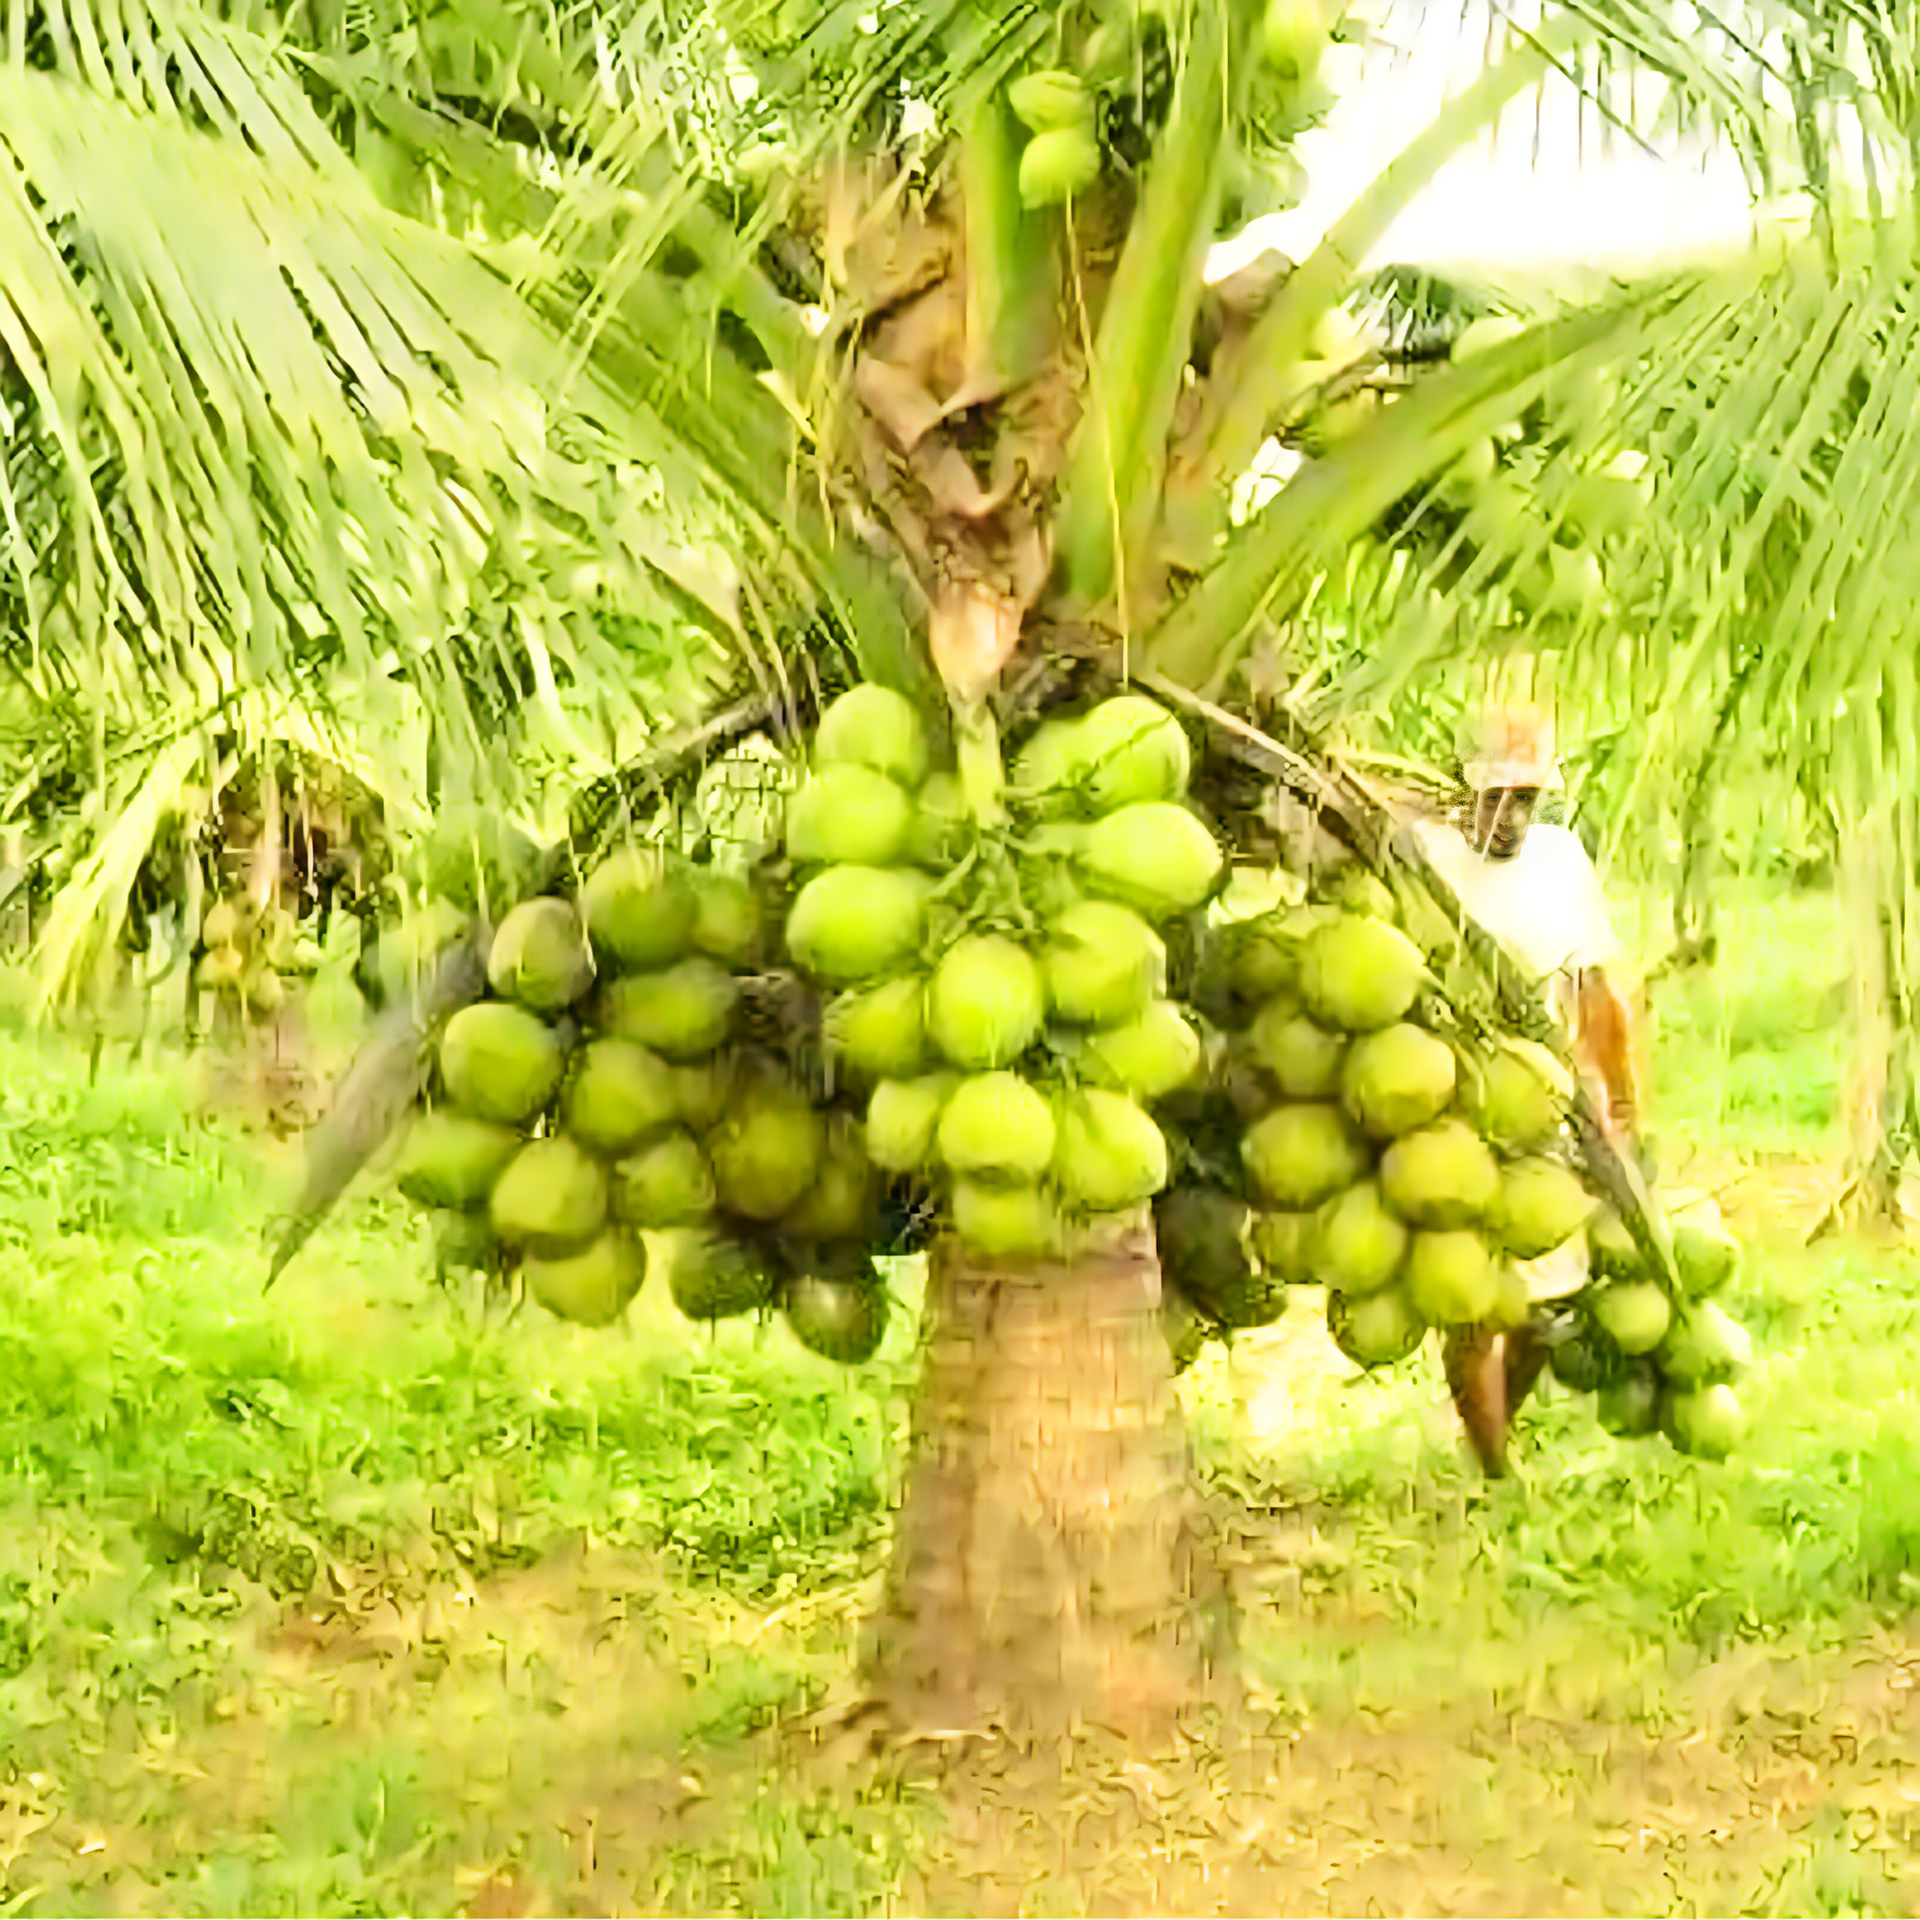
The dwarf variety of green coconut plants, also known as the dwarf coconut palm or Cocos nucifera 'Malayan Dwarf,' is a cultivar of the coconut palm tree that is known for its smaller size and faster maturity compared to traditional coconut palm varieties. Here are some key characteristics and information about the dwarf variety:
Size:
The dwarf coconut palm typically grows to a height of about 20 to 60 feet (6 to 18 meters), which is considerably shorter than the tall varieties that can reach up to 100 feet (30 meters). The compact size of the tree makes it suitable for smaller yards or gardens.
Growth rate:
One of the notable advantages of the dwarf variety is its faster growth rate. It reaches maturity and begins producing coconuts in about 3 to 5 years, whereas tall coconut palms may take 7 to 10 years or more.
Coconuts:
The green coconuts produced by the dwarf variety are smaller in size compared to those of the tall coconut palms. These coconuts are typically harvested when they are still green and immature, as they contain refreshing and slightly sweet water or juice. As the coconut matures, the water inside transforms into coconut milk and the coconut meat solidifies.
Adaptability:
The dwarf coconut palm is adaptable to various tropical and subtropical climates, including coastal regions. It can withstand sandy soils, salt spray, and even strong winds better than taller coconut varieties.
Maintenance:
Like other coconut palms, the dwarf variety requires regular watering, well-drained soil, and ample sunlight. It benefits from fertilization to support healthy growth and fruit production. Regular pruning may also be necessary to maintain its compact size and remove dead fronds.
Uses:
The green coconuts from the dwarf variety are primarily enjoyed for their refreshing water, which is often consumed directly or used in beverages and culinary preparations. Soft white coconut meat can also be eaten or used in various recipes and desserts. Additionally, the leaves, husks, and wood of the coconut palm have traditional uses in construction, crafts, and other applications.
Landscaping:
Due to its smaller size and ornamental appeal, the dwarf coconut palm is often used in landscaping and garden design. Its attractive fronds and the presence of coconuts add a tropical touch to gardens, resorts, and coastal areas.
It's worth noting that while the dwarf variety is a popular choice for homeowners and small-scale cultivation, tall coconut palms remain the predominant variety for commercial coconut production due to their larger fruit yield.
Light
Coconut palms thrive in full, bright sunlight. Even those found in nature can fail to properly if in the shade, so it's extremely important that any indoor coconut palm receives ample sunshine. During the fall and winter months, consider placing your palm under a grow lamp or another artificial Light Source to help make up for the loss of sunlight. Additionally, depending on its placement in your home, you may have to move your plant's location throughout the day to "chase" the sun and ensure proper exposure. As a good rule of thumb, you should aim for at least six hours of full sunlight each day.
Soil
Coconut palms are used to growing in a variety of soil conditions and are therefore not terribly picky about their planting mixture. That being said, a combination that closely mimics the coconut palm's natural environment is always your best bet. Typically, this means mixing a neutral to acidic potting soil with a bit of sand or vermiculite to maintain a well-draining environment (you could also skip the sand and opt instead for a drier cactus mix). Additionally, you can add a few layers of mulch to the top of the soil to help it retain moisture. Be sure your pot is at least 12 inches deep to start, in order to provide plenty of soil for the palm to take root in. Once roots have sprouted, you'll want to graduate it to a planter that holds at least 10 gallons of soil.
Water
Like many tropicals, the coconut palm is one thirsty plant. Keep the soil consistently moist by saturating it with warm water once to twice a week. As long as you've chosen well-draining soil (see above), you really can't overwater a coconut palm—after all, they're used to between 40 and 60 inches of annual rainfall in their natural environments.
Temperature and Humidity
Keep your coconut palm nice and cozy at all times. It can survive in temperatures that are at least 70 degrees Fahrenheit and up (though they grow best in temperatures between 85 and 95 degrees Fahrenheit) and may fail to thrive if its surrounding climate dips below 64 degrees Fahrenheit. Humidity is an important factor, too—maintain a moist environment for your palm with the addition of an in-room humidifier, as well as frequent spritzing with warm water. Your plant may also benefit from the addition of a mini Green House while still in its infancy (you can remove it once the palm is approximately 12 inches tall).
Fertilizer
Feed your palm year-round with a weak liquid fertilizer, and increase frequency during the summer months when it's actively growing. Coconut palms are known to have several nutrient deficiencies, including a lack of phosphorus, nitrogen, manganese, and boron, so seek out a fertilizer blend specifically made for palm trees in order to supplement these losses.
Propagating Coconut Palm
If you can't find a coconut palm at a nearby nursery or store, you can still grow one indoors using—you guessed it—a coconut. To sprout a coconut palm, start with a coconut that still has some of its husks on and sounds full of water when you shake it. Place it in a bucket of room temperature water and soak it for up to three days to help jumpstart the germination process. Next, bury the nut in a moist but well-draining soil mixture, leaving the top half exposed above the soil. Move the pot to a warm, well-lit area and continually water it (without allowing it to sit in water) every three days or so. With the right environment, you should see a seedling appear through the shell of the coconut within three to six months.
Potting and Repotting Coconut Palm
Sprouted coconuts can be potted in three-gallon pots (about 12 inches of soil). Their root balls are fairly small and shallow to start and, as a result, they don't need a ton of soil in the early growing months. However, once your coconut palm's roots grow to be about six to eight inches long, repot the plant into a vessel that holds at least 10 gallons of soil.
Common Pests and Diseases
In their native habitats, coconut palms are fairly resistant to insect predators, but in the home, you might see Mealybugs or spider mites on the leaves. Additionally, it's common for coconut palms to be plagued by "lethal yellow," a fungal disease that causes yellowing leaves, dropping fruit, and eventual death. While trees can be given antibiotics, such treatment is not always successful and most palms end up succumbing to the disease.
How To Grow Dwarf Variety Green Coconut Plant
Dwarf varieties of green coconut plants are popular for their compact size and ability to produce coconuts at an earlier age compared to regular coconut trees. Here are some steps to help you grow a dwarf green coconut plant:


